
Custom Syntax Highlighting and Code Copy Feature in Astro
Adding a feature to see which language is used in syntax highlighting and a code copying feature using JavaScript and CSS.
Syntax HighlightingSection titled Syntax Highlighting
Syntax highlighting is a feature that is useful for displaying text, especially code, in various colors and fonts that correspond to the code. This feature greatly aids in enhancing the readability of the code we write. Programmers can benefit from it during debugging because with different colors, it becomes easier to find the code sections they are looking for.
When using markdown, we can use the syntax highlighting feature by specifying the language at the end of the backticks in the beginning of fenced code blocks. For example, we can see the JavaScript syntax below.
```js
function countSheep (maxSheep) {
  let count = 0
  while (count < maxSheep) {
    count++
    console.log(count + ' sheep 🐑')
  }
}
countSheep(100)
// 1 sheep 🐑
// ...
// 100 sheep 🐑
```
If this markdown is previewed, it will appear as shown below.
function countSheep (maxSheep) {
  let count = 0
  while (count < maxSheep) {
    count++
    console.log(count + ' sheep 🐑')
  }
}
countSheep(100)
// 1 sheep 🐑
// ...
// 100 sheep 🐑
As you can see, it will be easier for us to identify which parts are string, number, function, or comment because these colors represent each of the code elements.
Usage in AstroSection titled Usage in Astro
By default, Astro already provides built-in support for syntax highlighting using Shiki and Prism, with Shiki as the default option. This allows us to highlight the code within the fenced code (```) used in markdown or MDX files.
An example of when we use Shiki in the markdown we create is like this.
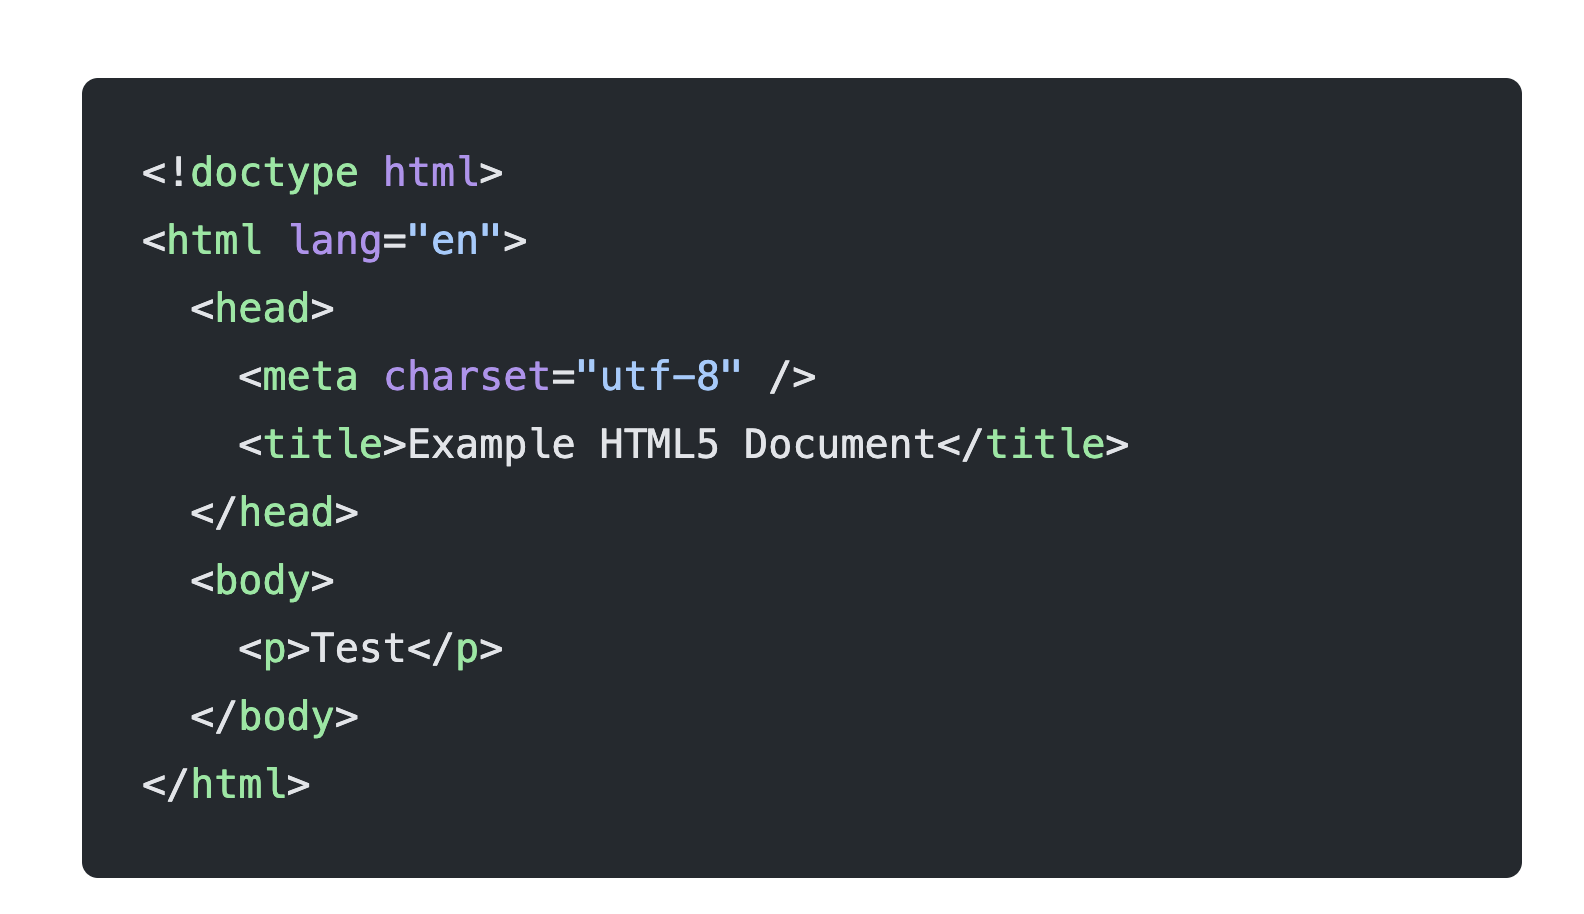
If you look, the code is already highlighted, making it easier for us to read. However, there is still something missing, which is that a novice reader might not know which programming language is written in that code line.
We could add a comment line indicating the programming language we’re using, such as // javascript at the beginning of the code. However, this may be a bit redundant for some people because we’ve actually already specified it when creating the fenced code.
Displaying the Programming LanguageSection titled Displaying the Programming Language
To display the programming language used in the fenced code, we can customize the syntax highlighting configuration in Astro and add some JavaScript and CSS syntax.
The first thing we do is change the syntax highlighting option from Shiki to Prism.
// astro.config.mjs
import { defineConfig } from 'astro/config';

export default defineConfig({
  markdown: {
    syntaxHighlight: 'prism',
  }
});
After changing this option to prism, we need to add our own CSS. Fortunately, we can use themes that are available on GitHub PrismJS.
Copy that code and add it to the public/themes/prism.css file. Then, call this style in the head tag of the HTML file.
<head>
  <link href="/themes/prism.css" rel="stylesheet" />
</head>
By using prism, the generated elements will look like this,
<pre class="language-js">
  <code is:raw class="language-js">
    <!-- some span -->
  </code>
</pre>
So after that, we can first find all the pre elements on the page, then we will iterate and render each language in those elements. We also need to provide relative styling to the pre elements, which we will use later for styling.
const preBlocks = Array.from(document.querySelectorAll("pre"));

for (const preBlock of preBlocks) {
  preBlock.style.position = "relative";

  renderCodeLang(preBlock);
}
Within the pre element, we’ve already found the name of the language we need to use, so we’ll separate that class name so we can use it. Then, we’ll create a div element that needs to be placed inside the pre element.
function renderCodeLang(preBlock) {
  const classLang = preBlock.className;
  const lang = classLang.split('-')[1];

  if (lang !== 'plaintext') {
    // add lang section on top left
    const langSection = document.createElement("div");
    langSection.className = "code-lang";
    langSection.innerHTML = lang;

    preBlock.prepend(langSection);
  }
}
If we don’t provide syntax highlighting for the fenced block, the class name will be language-plaintext, so we need to validate it to prevent the plaintext text from appearing.
Then, we need to add styling to the code we create.
.code-lang {
  position: absolute;
  top: 0;
  left: 10px;
  background-color: #fff;
  color: #000;
  padding: 0.25rem 0.5rem;
  font-size: 0.75rem;
  line-height: 1rem;
  border-radius: 0 0 0.25rem 0.25rem;
}
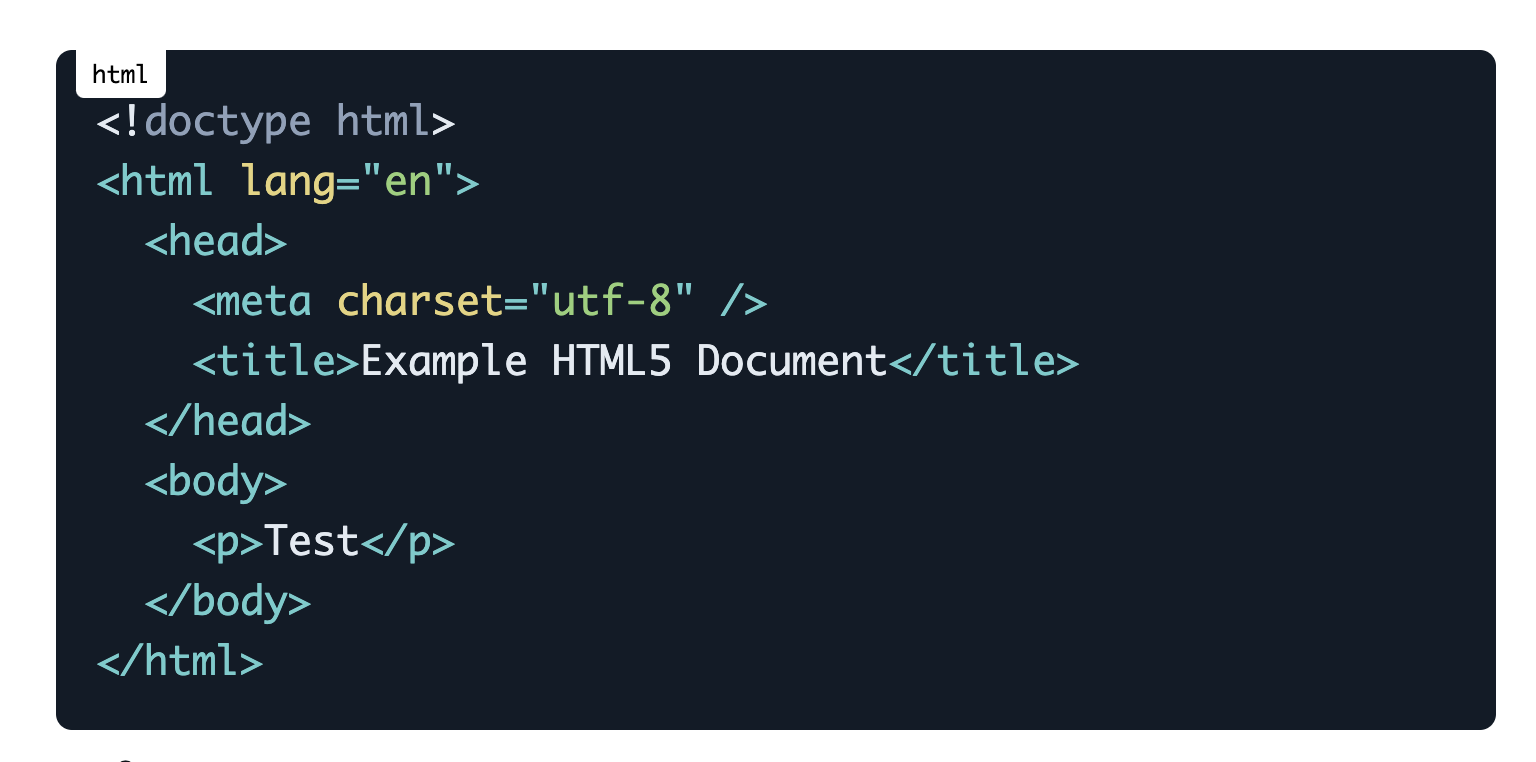
The result will be like this.
Copy Code FeatureSection titled Copy Code Feature
To make it easier for users who want to use the syntax on the website, it’s better to add a feature to copy the code.
The flow is the same as above; we need to find the pre elements on our page, then render a copy button and handle a function to copy the text inside of code block.
const copyImg = `<svg xmlns="http://www.w3.org/2000/svg" width="24" height="24" viewBox="0 0 24 24"><path fill="currentColor" d="M9 18q-.825 0-1.413-.588T7 16V4q0-.825.588-1.413T9 2h9q.825 0 1.413.588T20 4v12q0 .825-.588 1.413T18 18H9Zm0-2h9V4H9v12Zm-4 6q-.825 0-1.413-.588T3 20V7q0-.425.288-.713T4 6q.425 0 .713.288T5 7v13h10q.425 0 .713.288T16 21q0 .425-.288.713T15 22H5Zm4-6V4v12Z"/></svg>`
const checkMarkImg = `<svg xmlns="http://www.w3.org/2000/svg" width="24" height="24" viewBox="0 0 24 24"><path fill="currentColor" d="m10.6 16.2l7.05-7.05l-1.4-1.4l-5.65 5.65l-2.85-2.85l-1.4 1.4l4.25 4.25ZM5 21q-.825 0-1.413-.588T3 19V5q0-.825.588-1.413T5 3h14q.825 0 1.413.588T21 5v14q0 .825-.588 1.413T19 21H5Z"/></svg>`
const preBlocks = Array.from(document.querySelectorAll("pre"));

for (const preBlock of preBlocks) {
  preBlock.style.position = "relative";

  renderCodeLang(preBlock);
  renderCopyBtn(preBlock);
}

function renderCopyBtn(preBlock) {
  const copyButton = document.createElement("button");

  copyButton.className = "copy-code";
  copyButton.setAttribute("aria-label", "Copy code to clipboard");
  copyButton.setAttribute("title", "Copy code to clipboard");
  copyButton.innerHTML = copyImg;

  preBlock.appendChild(copyButton);

  copyButton.addEventListener("click", async () => {
    await copyCode(preBlock, copyButton);
  });
}
The copy function will look for the code element and then copy the text inside it.
async function copyCode(block, button) {
  const code = block.querySelector("code");
  const text = code?.innerText || "";

  try {
    await navigator.clipboard.writeText(text);

    // Visual feedback that the task is completed
    button.innerHTML = checkMarkImg;

    setTimeout(() => {
      button.innerHTML = copyImg;
    }, 700);
  } catch (error) {
    console.error("Failed to copy code: ", error);
  }
}
Then, we will style this code so that it appears in the upper right corner of each code element.
.copy-code {
  border: none;
  padding: 0;
  cursor: pointer;
  outline: inherit;
  position: absolute;
  top: 10px;
  right: 0;
  background-color: #fff;
  color: #000;
  padding: 0.25rem 0.5rem;
  font-size: 0.75rem;
  line-height: 1rem;
  border-radius: 0.25rem 0 0 0.25rem;
}
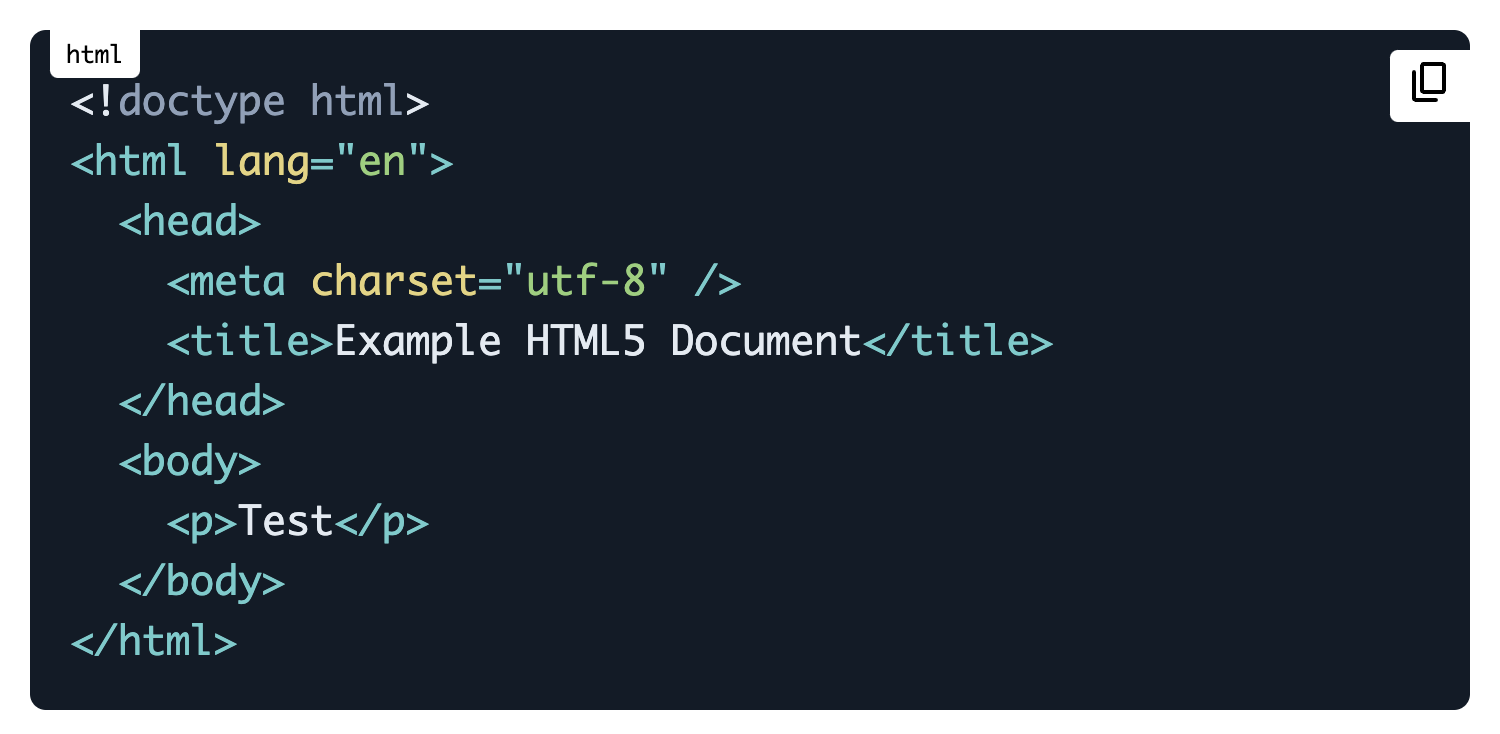
The final result appears as follows.
ConclusionSection titled Conclusion
We have successfully created a customization for syntax highlighting in Astro, so users viewing code snippets on our website will find it easier to copy them.
Feel free to provide feedback and don’t hesitate to ask if there’s anything you don’t understand 😉.
Update: